DIY | Minimalist Easter Eggs
With only a few weeks left before Easter is upon us, I decided to do a few little DIY’s to help this time spent at home feel a little more creative! This week, I’m starting with a simple, minimalist Easter egg that I can’t get enough of!
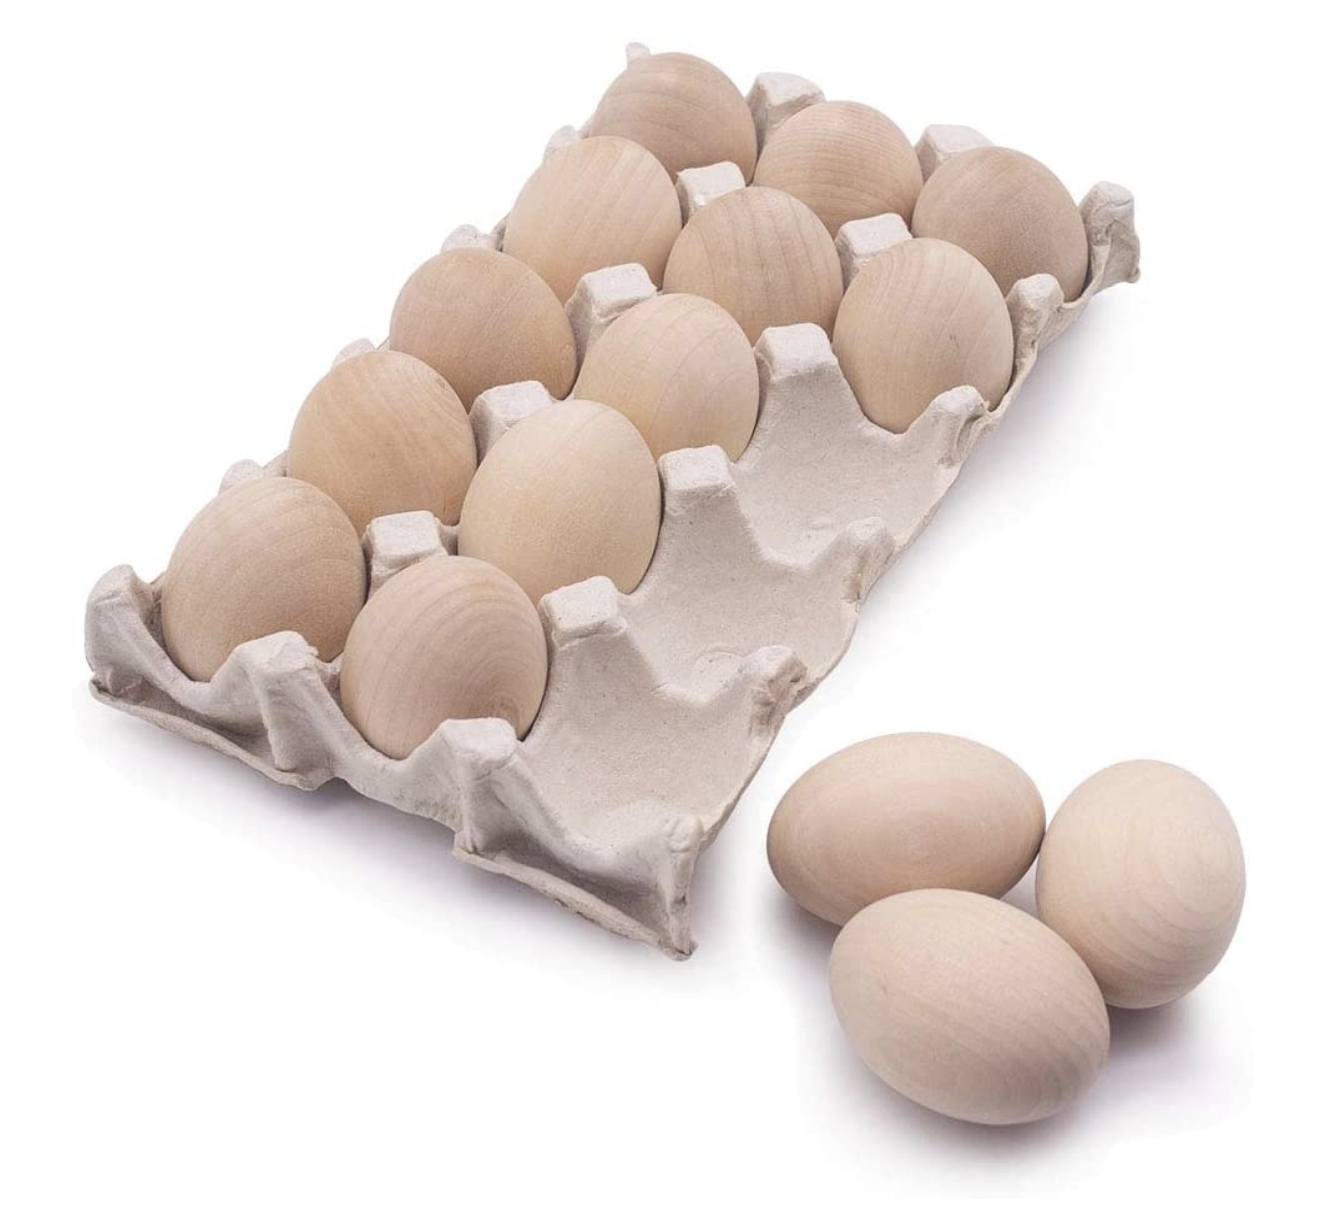
Now, these cuties are SUPER simple to do, but I feel like they pack such a punch style wise. I get compliments every year that I bring them out! I always get asked where I bought them and end up walking people through the quick little process to replicate them at home in a really inexpensive way! I started with some simple wood eggs. I know you can get them around, but at a time like now with the '#stayhome EVERYWHERE, I’m making it easy on myself and just ordering this set that comes in it’s own tray, which turned out to be really helpful. I had all the items at home, but I’ve put together a quick list if you’re missing a few.
List of Materials Needed
1. Wood Eggs
BONUS ITEMS
5. Scissors - I like to cut my tape as opposed to tear it for cleaner lines.
6. Egg Tray - I used this to lay the eggs in while they were wet so they didn’t roll.
Step 1
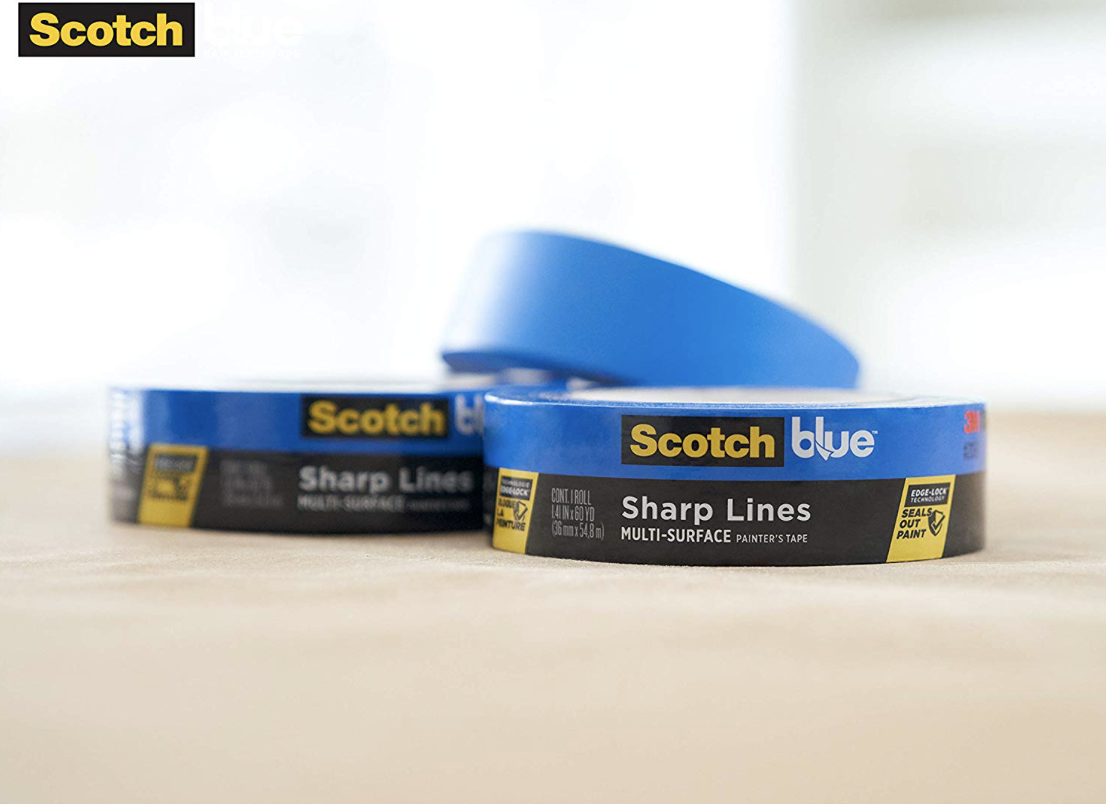
This step is really easy. Just tape of the exposed section of the egg that you want to paint from the unexposed section. I really like frog tape for the part because rubbing your fingers repeatedly along the edge activates a really nice seal to ensure you get a really clean edge when the paint is dry. I didn’t have any on hand, so if you use blue tape or scotch tape, just be sure to get the sealed edge as flush as possible.
Step 2
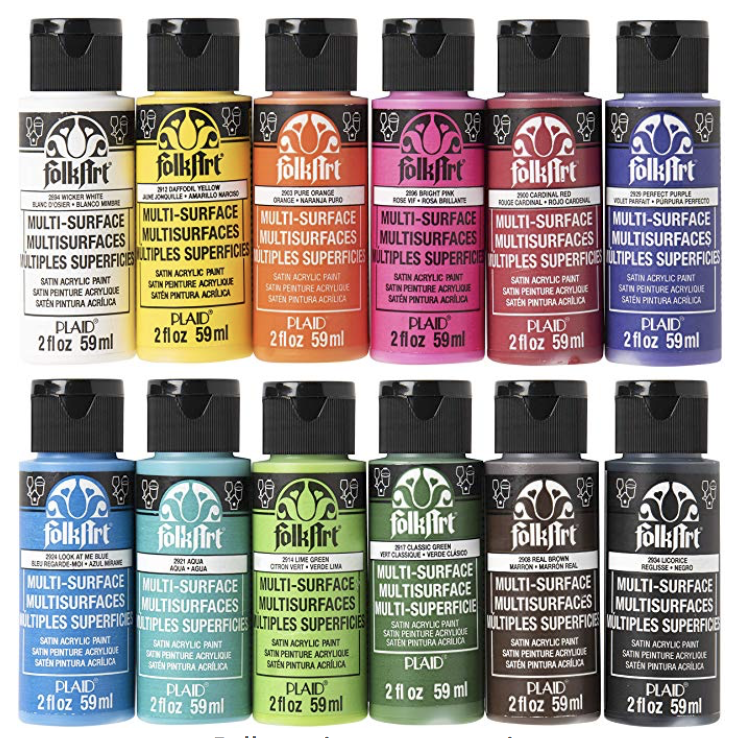
Paint away! I just used black and white acrylic paint, but you really can use any combination of colors you’d like! I did one coat, allowed them to dry fro 3o minutes, and then did a second coat. I allowed them to dry over night before removing the painters tape.
Once the tape is removed, you’ll get a minimalist, modern Easter egg that will last you a lifetime! And, as a earth conscious bonus, if you get bored with them, you can always re-paint them next year!
And that’s that!! So simple and a fun project to do with the kids while enjoying this time at home!
I’ll be sharing another Easter egg DIY next Monday. Thanks for stopping by!
heather-scherie


